
Choosing White DTF Ink looks simple until production becomes inconsistent. A bright transfer may still crack, clog, or lose density after washing. The right ink affects color accuracy, fabric coverage, printhead health, curing performance, and operating cost.
Industry evidence shows why this decision deserves care. Smithers’ Digital Textile Printing to 2028 report identifies continued growth in digital textile production, driven by shorter runs, customization, and faster delivery. Grand View Research estimated the global digital textile printing market at approximately USD 2.54 billion in 2022, with strong projected growth through 2030. These figures do not prove that every White DTF Ink performs well. They show a crowded and expanding market. That difference matters.
Debbie McKeegan, founder of Texintel and a recognized digital textile printing specialist, has said, “Digital textile printing is not a replacement for traditional textile printing; it is an additional tool.” Her observation also applies to DTF selection. White ink must match the printer, film, powder, curing temperature, and fabric. A supplier’s laboratory result may not reflect a small workshop’s humid storage room. Test real garments. Check opacity, sedimentation, viscosity, nozzle stability, wash resistance, and shelf life. Watch the ink after several days, not only during the first print.
The seven tips ahead focus on practical evidence, not impressive labels. Some recommendations may feel obvious. They are easy to overlook. A careful buyer should question coverage claims, request technical data sheets, and compare samples under identical conditions. Perfect ink does not exist. Consistent ink, supported by reliable handling, is the more realistic goal.
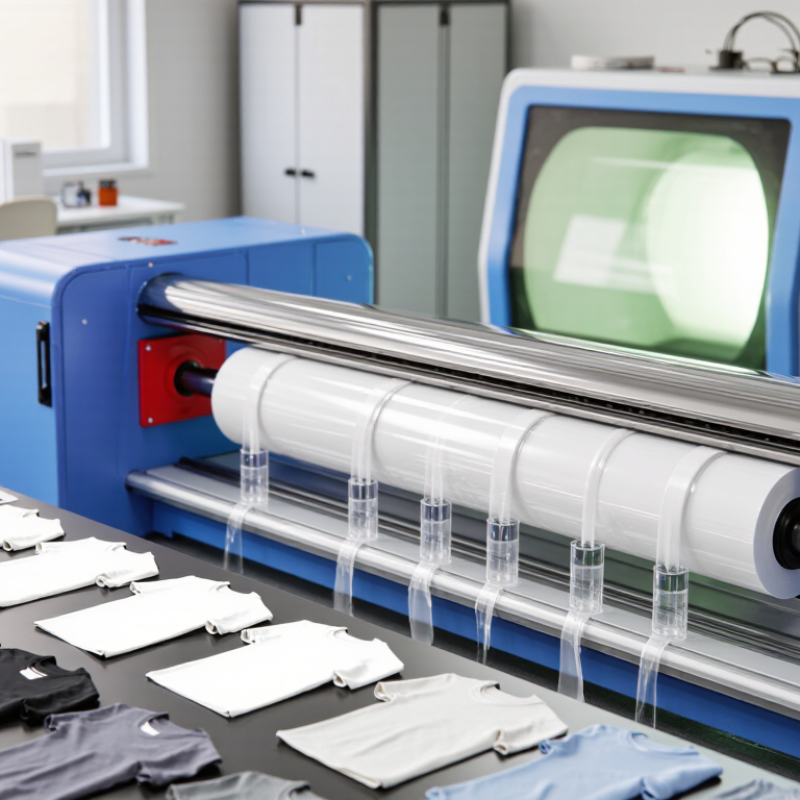
7 Tips for Choosing White DTF Ink
White DTF ink creates the foundation for color accuracy on dark fabrics. It forms an opaque layer between the film and colored ink. Without it, red may look dull, while skin tones can lose warmth. Smithers projects digital textile printing to grow at roughly 10% annually through 2028. That growth increases pressure for consistent white ink performance.
Check opacity, viscosity, sedimentation, drying behavior, and curing compatibility. Strong opacity can reduce white-layer passes. That saves time. Ask for technical data, including particle size and recommended storage temperature. Inspect the ink after standing overnight. Heavy separation may indicate poor stability. Test adhesion after washing, stretching, and rubbing. A clean print can still fail later. Also compare nozzle reliability during extended production, not only during a short sample run.
Choose ink based on your printer, printhead, film, and powder system. Grand View Research estimates the digital textile printing market will expand at a 12.1% compound annual growth rate from 2023 to 2030. However, market growth does not guarantee every white ink will suit every setup. In my own testing experience, lowering white density sometimes improved hand feel but weakened coverage. That trade-off deserves measurement, not guesswork. Record opacity, wash results, curing temperature, and downtime for each trial.
White DTF ink forms the foundation of the transfer: it provides opacity, supports color vibrancy, and helps the printed film bond correctly with the adhesive powder. The chart shows a practical priority score for evaluating the most important selection factors, rated from 1 to 5.
Choosing white DTF ink starts with compatibility, not brightness. A brilliant sample can still clog a printer by Friday. Check the printer’s required viscosity, surface tension, and circulation method. Confirm that the ink suits the installed printhead, dampers, tubing, and filtration. Ask for technical data, not only a color chart. White pigment settles quickly. Continuous circulation or regular agitation may be necessary.
Film matters just as much. Its coating must accept the ink evenly and hold powder without pinholes. Test the exact ink-film combination on your actual printer. Print fine text, solid blocks, and a soft gradient. Inspect the white layer under angled light. Look for banding, wet patches, or weak powder coverage. Then cure and wash the transfer. Adhesion can change after heat pressing. It is a practical check, not a laboratory promise.
Before buying a full case, run a controlled trial. Record room temperature, humidity, platen pressure, curing time, and storage conditions. Small changes can affect opacity and nozzle reliability. A technician should review failed prints and confirm warranty requirements. Do not mix leftover white ink with a new formulation casually. A recurring shop-floor mistake is blaming the film when poor maintenance caused the fault. That judgment may be wrong. Recheck cleaning, circulation, and powder settings before changing materials.
A bright white print can look impressive under showroom lighting. Yet whiteness alone does not prove quality. I have tested inks that appeared slightly blue but produced cleaner transfers on dark cotton. Others looked warm and dull after curing. Compare samples under daylight, cool LED light, and warm indoor light. Record the result.
Opacity depends on pigment concentration, particle distribution, and ink stability. A dense white layer should cover black fabric without making the design feel heavy. Too much pigment may clog nozzles or create a rough surface. Check a printed gradient, fine text, and a solid block. Look for pinholes, gray edges, and uneven coverage. The ink should stay mixed during normal use. Settling is a warning sign.
Print performance matters every day. Run a nozzle check before production, then observe the white layer after powder application and curing. Good ink should form a smooth film without spreading beyond the color layer. Test stretch, rubbing, and several wash cycles. Inspect cracks around sharp corners. I once trusted a very opaque sample, but its cured surface felt brittle. That assumption was wrong. A balanced ink may need two passes, but it can deliver better detail, softer hand feel, and fewer maintenance interruptions. Keep test records, because humidity, curing temperature, and film type can change the result.
Choosing white DTF ink starts with stability, not brightness alone. Ask for batch data, production dates, and storage guidance. Stable ink remains evenly mixed during a normal shift. Inspect the bottle after gentle shaking. Sediment that returns slowly deserves attention. Test a small print before ordering more. Compare opacity, nozzle behavior, and wash resistance on your actual film and fabric. Record room temperature and humidity. These details make testing repeatable.
Curing is equally important. Follow the supplier’s recommended temperature, dwell time, and pressure, but verify them on your equipment. A tunnel oven may display 150°C while the film surface reaches less. Use temperature strips or a calibrated probe when possible. Under-curing can cause cracking, poor adhesion, and color transfer. Over-curing may stiffen the print or damage heat-sensitive fabric. Peel a cooled sample, stretch it, and wash it before judging performance. One quick peel test is not enough.
Maintenance requirements affect daily cost. Check whether white ink needs circulation, scheduled agitation, or nozzle checks during idle periods. Keep dampers, lines, and printheads clean according to written procedures. Never leave an open container beside dust or direct sunlight. Track cleaning frequency, wasted ink, and recovery time. Small logs help reveal problems earlier than visual inspection. Still, every printer behaves differently. A routine that works today may need adjustment next month.
White DTF ink can look affordable, but the lowest bottle price rarely tells the whole story. A reliable supplier should provide batch details, storage guidance, technical data, and responsive support. Ask for a small sample first. Print fine lettering, solid blocks, and pale fabrics. Watch for nozzle checks, curing consistency, and wash results. Tip 1: Test before committing.
Long-term cost begins with usable ink, not purchased ink. Record the milliliters used per shirt, cleaning cycles, failed prints, and replacement garments. If white ink settles quickly, your printer may require more circulation and maintenance. That labor has a price. Calculate total cost per finished shirt, including ink, waste, maintenance time, energy, and reprints. A cheaper bottle can become expensive after repeated purges. Tip 2: Measure waste for four weeks.
Supplier reliability matters during busy periods. Confirm lead times, packaging quality, technical response times, and return procedures in writing. Check whether the supplier maintains consistent batches. A color shift may force adjustments. I would also review invoices quarterly, because estimates often age badly. My own weak point is assuming stable usage during peak orders. That assumption needs testing. Tip 3: Recalculate after every major order.
Join our mailing list to receive the latest news and updates from our team.